crafts
Craft: How to Make A fabulous Apron for Mother’s Day
Have you wanted to sew but haven't been able to find a project at your skill level? I may be able to help you with that. I am going to share a SUPER easy tutorial to make an apron using a Riley Blake Designs fabric panel. It's perfect because you don't have to deal with patterns or finding the perfect fabrics at the fabric store; Riley Blake Designs does all of that for you.
How to Make a Fabulous Apron
Supplies:
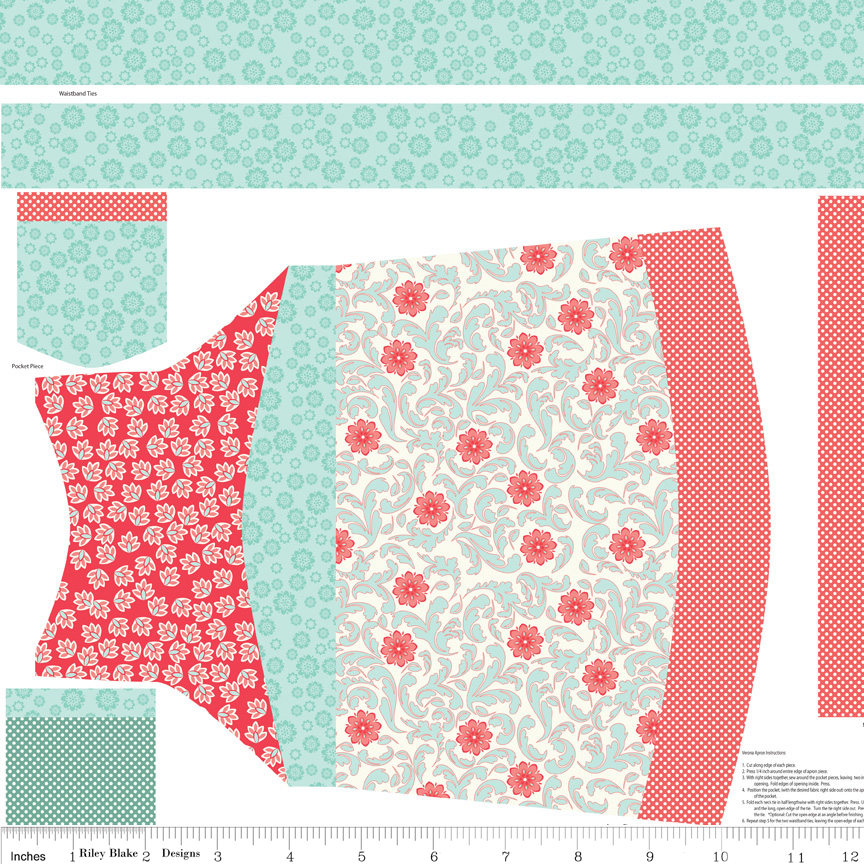
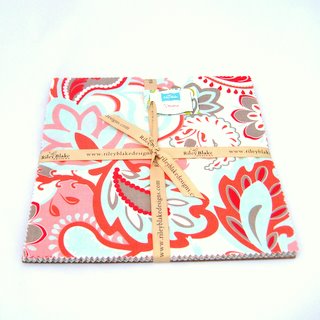
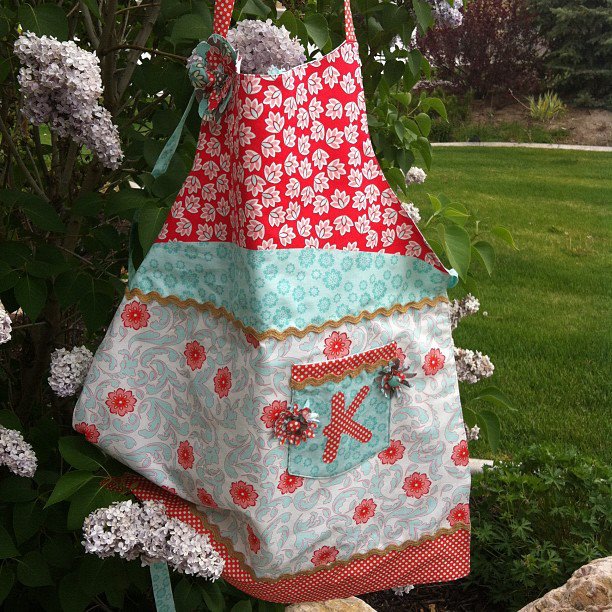
First, you'll need one Riley Blake Designs Verona Apron Panel as shown above. And some additional fabric for the flowers ...
You'll also need:
- 3/4 yard of Muslin (optional)
- 1 3/4 yard of rick rack
- Three small coverable buttons
- Needle and thread
- Sewing machine
- Fabric die cutting machine (or flower shaped cookie cutters and letter stencil)
Directions:
Here is a FABULOUS video tutorial that will walk you through the entire process of creating the apron.
Here are some things I did to make my apron unique!
First, I used my Making Memories Slice Fabrique to cut out this monogram. I fused it to the pocket, then stitched it down. I then sewed the rick rack on and followed the directions on the video to attach the pocket to the apron. If you don't have a die cut machine for the monogram, you can simply trace the letter using a stencil on a piece of fusible web that has been ironed on the fabric. (There are several tutorials for this method. HERE is a good one!) Cut the letter out, then follow the same directions to sew it to the pocket.

Next, I used my Sizzix Big Shot and my AccuQuilt GoBaby! to cut out these flowers. *The trick to a good cut with the Big Shot is to have your fabric be EXTRA stiff. Use an iron and heavy starch to get your fabric to almost feel like paper. Then cut! You can also use a flower shaped cookie cutter. Just follow the same directions as the monogram. It's super easy!
Another trick I'd like to share is to make a dimensional flower. You can see that I used several different flower shapes. To make them stand out, layer all of your flower shapes together. Then, make a running stitch through all of the flowers in a circular pattern.
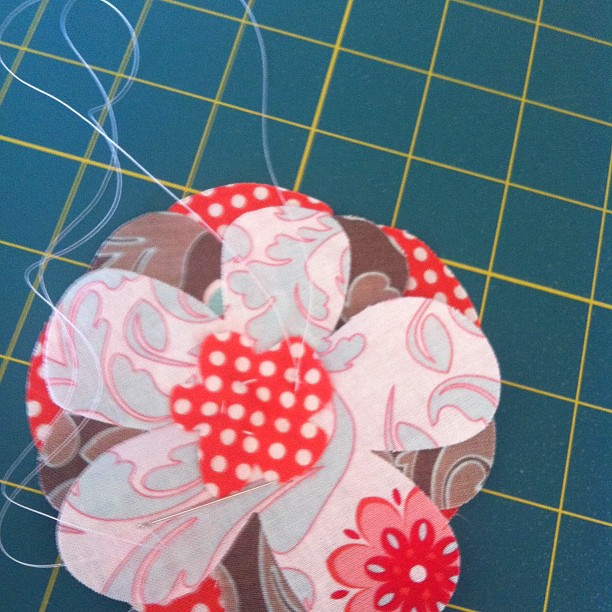
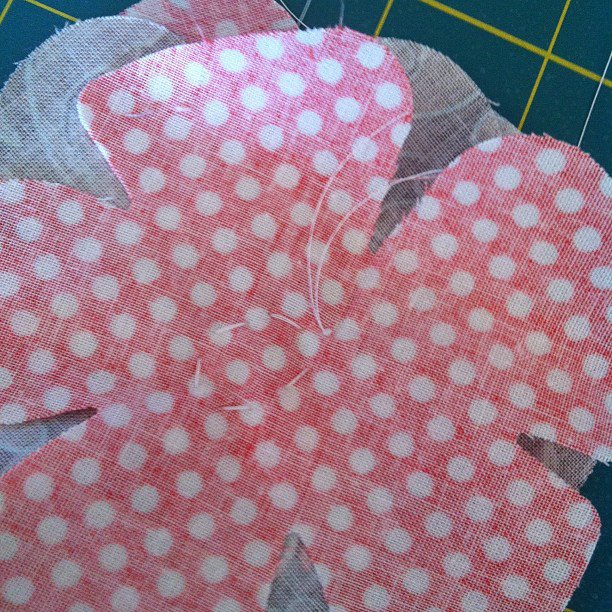
When you're done, simple pull the threads. VOILA! You've got a flower that really POPS!

Make sure you don't cut the thread just yet ... You'll use it to sew on the covered button and then attach the flower to the apron!

The finished product ...
I hope you've enjoyed this tutorial! If you have any additional questions, please visit my blog at www.paigehill.blogspot.com.
What fun and easy things have you enjoyed sewing?
Latest posts by Paige Hill (see all)
- Kids Crafts: Painted Art Canvas and Paper Flower Bouquet - May 8, 2019
- Craft: How to Make A fabulous Apron for Mother’s Day - April 26, 2017

