crafts
Craft Project: How To Decorate Using Mod Podge
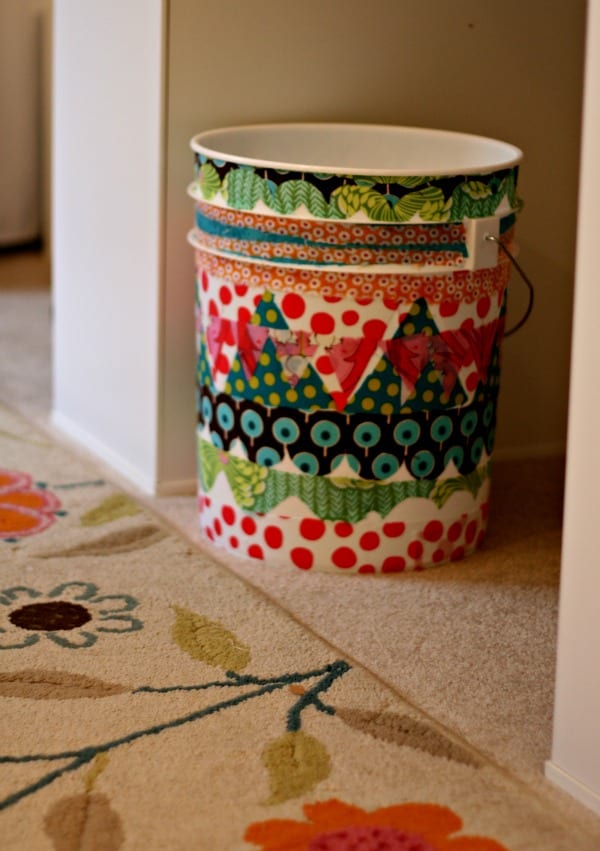
A while back, I saw the most beautiful trash can that Melody Ross from Brave Girls created. It was whimsical, artistic, and functional. I tucked the idea away in the back of my brain knowing I wanted to make one some day using Mod Podge. Not only did it look like something I could do without much direction, but it would also remind me of an amazing woman.

Mod Podge Projects
I do not sew. Even though I love to browse fabric stores, I am like a fish out of water. I knew I wanted several patterns of fabric for my project — colorful, energetic, and fun! I only needed small amounts of each design and knew I would irritate the employees if I carried five to eight bolts of fabric and wanted a quarter of a yard of each.
That's when I caught site of the cutest little older ladies looking at these cute folded up squares of fabric — fat auarters for quilting. They were perfect for my project! As I chose my patterns, I eavesdropped on the senior lady conversations hoping they would ask me a question so I could also chat with them. That's the beauty of the craft world and the fabric store. Soon I was chatting it up with 80 and 85 year-old quilters who told me all kinds of things about fabric, sewing, their projects, their families, etc. I loved every minute of it.
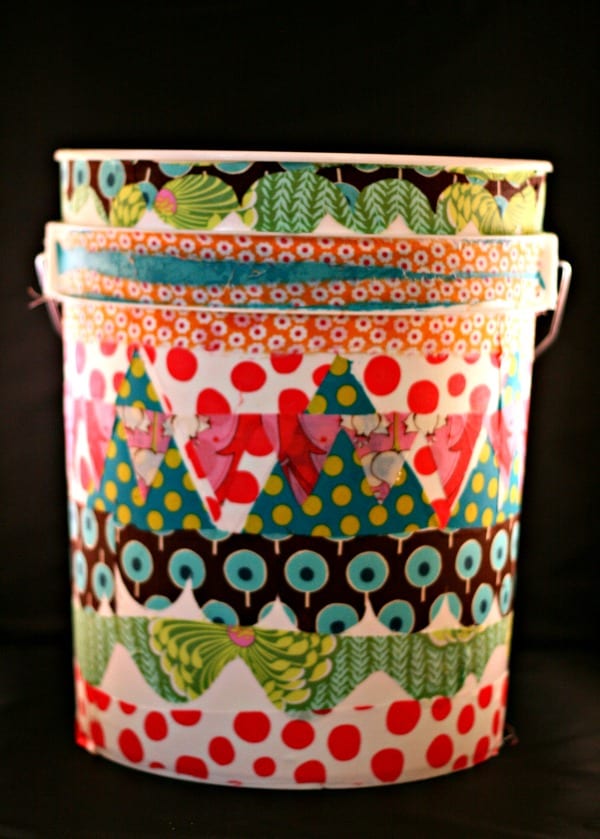
Once home, I cut my fabric into strips, triangle, and scallop pennants. Using my Mod Podge from Plaid, I smeared it all over my five gallon bucket. I applied each strip haphazardly (my specialty) to the can and applied more Mod Podge over the fabric. I had no plan of order and just kept going until I reached the bottom of the bucket.
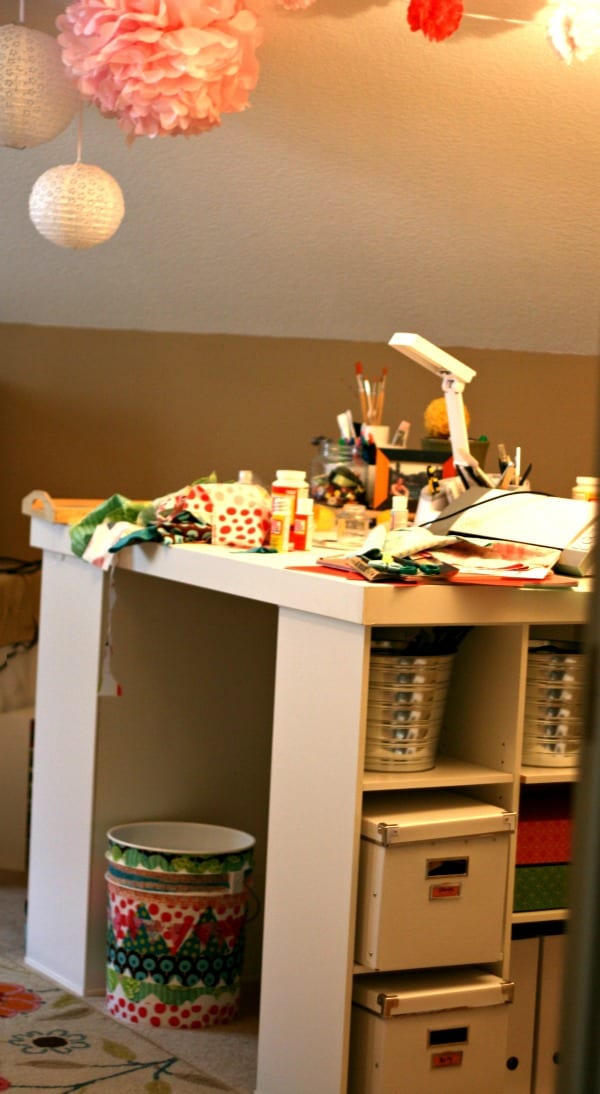
I now have a new trash can for my craft room — my messy craft room!

I love it! It's not just a trash can, though. It's a reminder of my friend Melody and the lovely ladies at the fabric store.

How To Mod Podge
Supplies:
- 5 gallon bucket — I used the typical painters type, but any size plastic trash can or bucket would work.
- Assorted fabric or paper cut into desired shapes.
- Mod Podge Gloss formula. Although I think the sparkle would be cool too!
Directions:
- Apply Mod Podge to the area of your surface you are covering first. Work in small amounts at a time.
- Apply your fabric or paper, apply more Mod Podge over the fabric or paper.
- Continue applying the rest of the fabric working your way down until you run out of bucket to cover.
I love a functional creative task!
What is your favorite Mod Podge craft project?
Written by Kim from Today's Creative Blog.
Latest posts by Kim (see all)
- Craft: How to Make Beach Themed Candles for Your Patio - July 13, 2019
- DIY: How to Stencil a Mirror - May 24, 2019
- Easter: Quick and Easy Decorating Ideas - March 19, 2019


